Introduction
3D printing has changed how we manufacture a lot, which has revolutionized the industry and made manufacturing fast and quick with a lower cost in a certain amount and allowed ideas to be quickly created. A 3D slicer is one of the keys to using these great tools. A Slicer is software that prepares your model to be ready to print.
What is a Slicer?
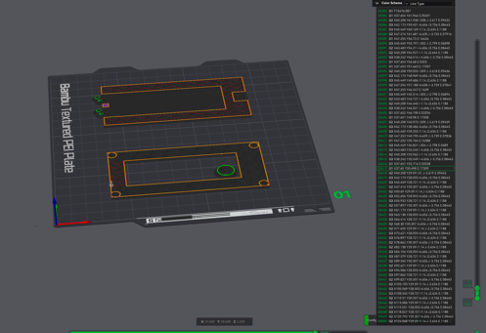
Slicer is a software that transfers the 3D file to G-Code, the language that printers understand.
 Bambu Studio
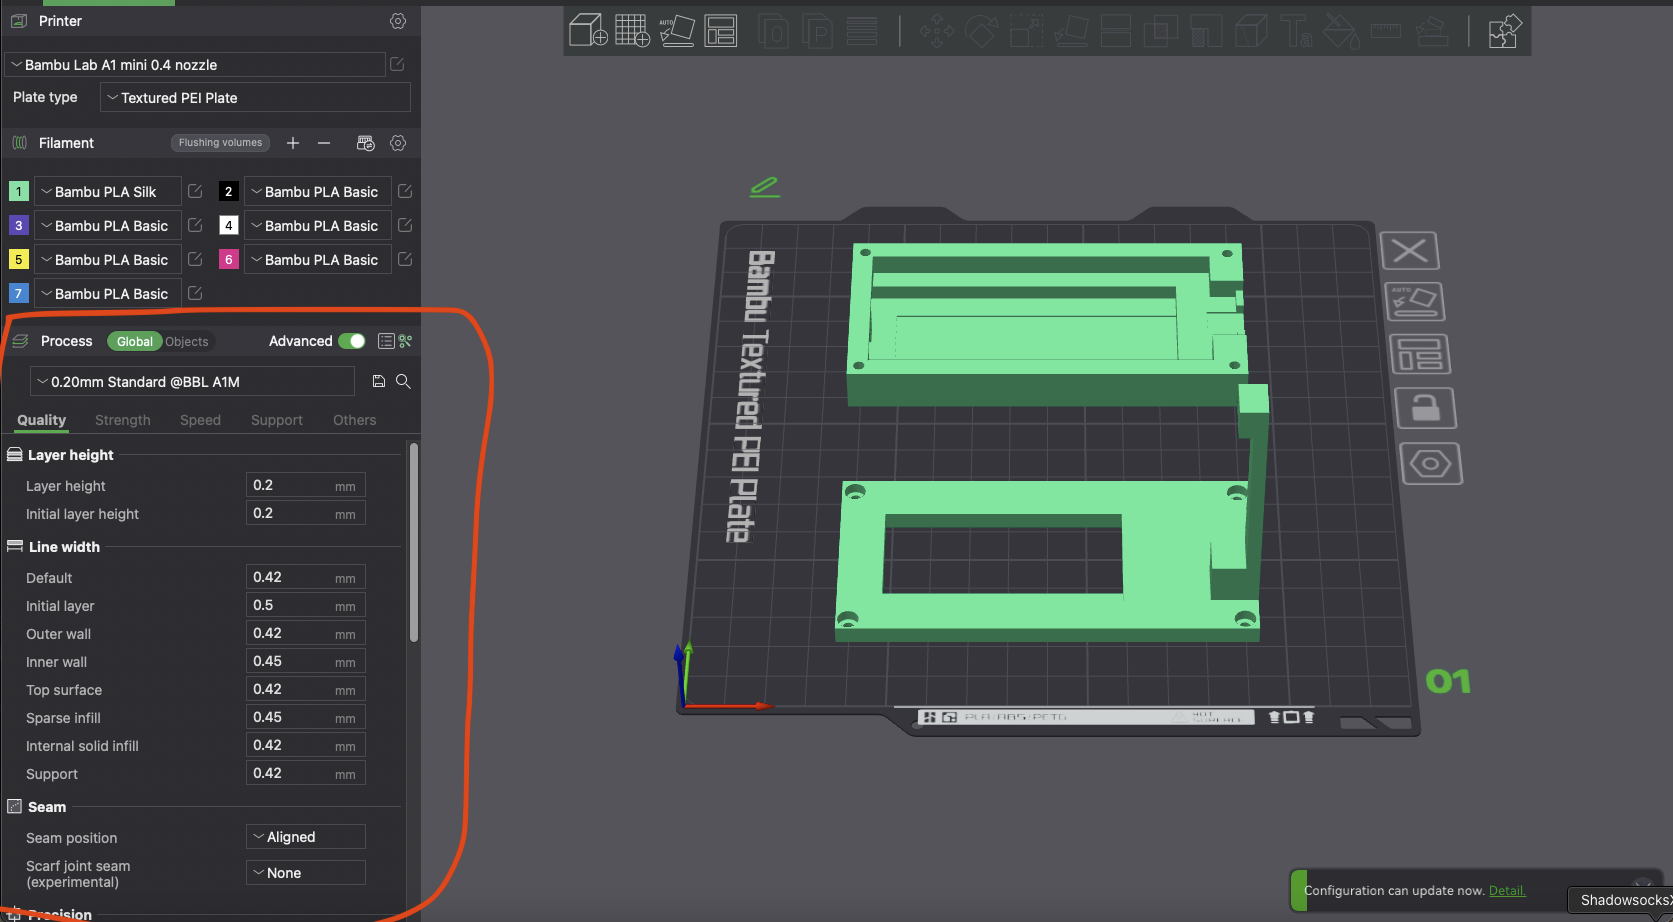
First, you should set up the printing parameter settings. Layer height, infill density, print speed, and nozzle diameter will all impact print quality; if you just want a quick draft or no special uses, you can just keep the setting in default.
 Bambu Studio
The silver parameter setting is usually on the left side of the slicer software.
Second, the slicer analyzes the 3D model and divides it into thin horizontal slices; this is called slicing. Third, the slicer calculates the most efficient movement path for the printer’s nozzle, minimizing travel time and ensuring that each layer is printed correctly.
How Can We Choose Slicers?
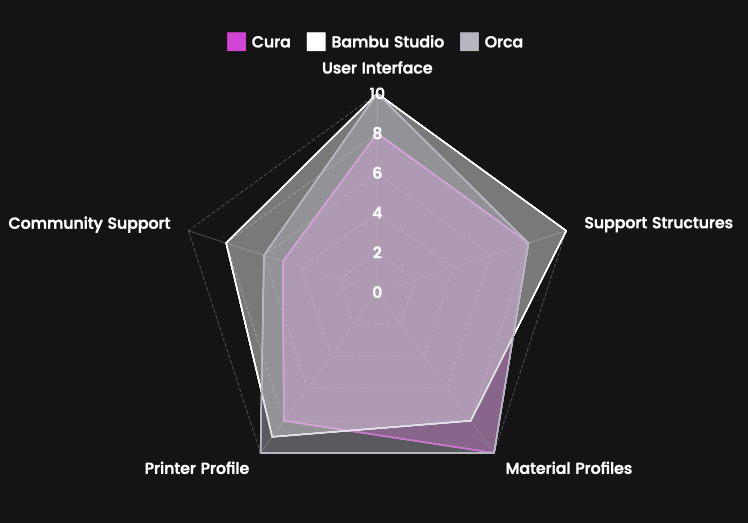
Cura / Bambu Studio /Orca
 (Own opinion)
Cura is a user-friendly software; it has great customization settings and allows the user to adjust their settings to bring the best print according to the prints. It is an open-sourced slicer, so it has great community support. However, the optimization of computers is bad; for large files, the slicing process might take a long time, and the preview of the slice is quite laggy. Orca, another open-sided slicer, is user-friendly and has great user support, but the customization is not that great, although the optimization of the computer is better. Bambu Studio is based on the Orca Slicer but did optimize the Bambu lab printers, so if you are using a Bambu lab printer, it is best to use Bambu Studio.
If there are any mistakes or places for improvement, please leave them in the comments.
Comments